Welcome, Guest | You have 0
How to print and cut out a Lekala sewing pattern
Step 1. Choose the right format.
A Lekala pattern can be ordered as a PDF, PLT, Wide PDF or as a LEK file.If you are fine with taping together numerous sheets for the sake of printing at home, choose from one of the PDF formats described below. However many people prefer ordering patterns in Wide PDF format as it comes on one wide and long sheet of paper. You can send this file to the nearest printing house and receive an easy-to-cut pattern at an agreeable cost. PLT format is similar, but is more technical. Most printing houses now work with PDF files.
Still most people prefer dealing with a PDF as you can print it out using your regular home printer on regular paper. There are several options you can choose from - A4, A3, Legal, Letter, Tabloid - and it is important to decide which one you prefer before you checkout. If you reside in the USA or Canada, most probably your printer needs Letter format. In other countries, the most common format is A4. A3 is twice as big compared to A4, and Legal is another popular format in the USA and Canada.
Step 2. Print out the file.
Your customized sewing pattern will arrive as a multi page PDF file, with the first page showing the layout of the pieces on the other pages. While the program tries hard to place them so that there are as few spare pages as possible, most likely some of the pages will still remain unoccupied. You may choose not to print them at all and go for the "filled" pages only. When printing the pattern, set the zoom option to "No scale", or "100% scale", depending on the printer model. It is a good idea to print out the last page first and check if the square sides will equal 10 cm. If they come out smaller or bigger, you need to play with the zoom settings to achieve the exact measurements. There will be frames around the actual page area - this is fine.Step 3. Lay out the sheets in the correct order.
Check the first page of the pattern again to see how the pages should be laid out.The cover page contains a numbered chart which shows the order in which the pages should be placed.
The number chart also shows the draft lines of the pattern pieces that would be drawn on each page.
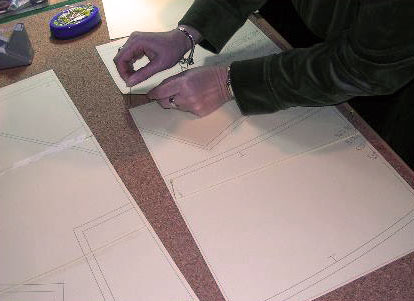
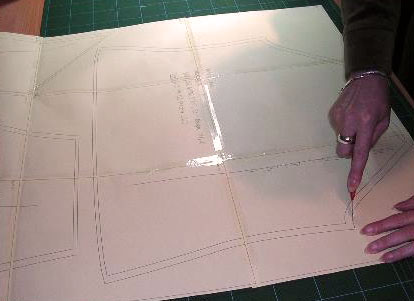
Step 4. Pin the sheets together.
It is a good idea to use either a cork sheet or a foam plastic sheet. Put the cork or foam sheet on a solid surface, e.g. a table, and place the sheets to be pinned on it. Match together the corners of the frames on the pattern pages and run a pin through both of the corners, so that the pattern sheets stay laying on the surface rather than hanging on a pin.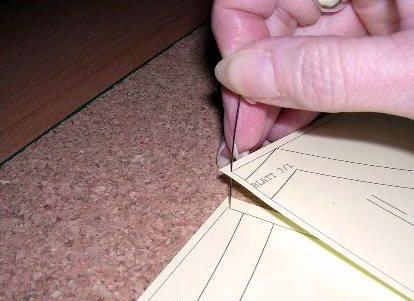
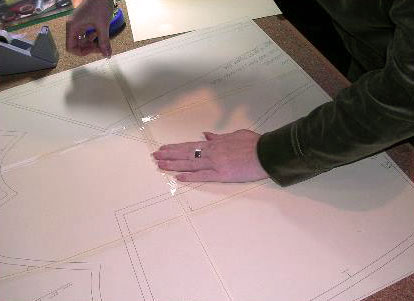
Step 5. Apply adhesive tape.
Having matched the sheets, fix them together using adhesive tape, applied along the whole matched edge.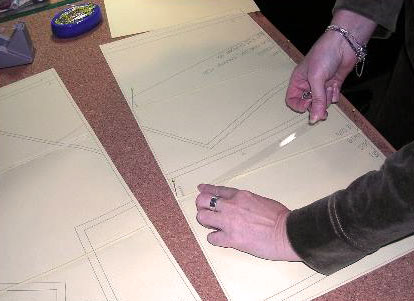
Step 6. Cut out the pattern.
You now have one big sheet of paper with the pattern pieces drawn on it.Use scissors or a disk knife to cut out the pieces.
Happy stitching!